|
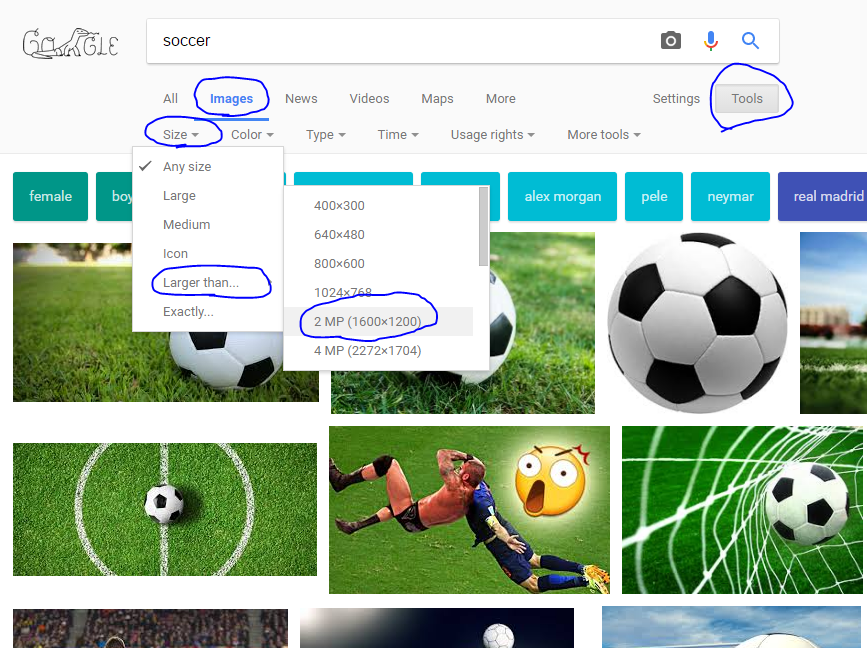
Today you are going to create a YouTube Channel and start work on on your Channel Art. 1. Log in with your wetigers.org account 2. Go to YouTube 3. Click My Channel 4. Click Create Channel 5. Click Channel Description 6. Add a description of your channel. What it is about, how often you would put up videos, etc. DO NOT PUT PERSONAL INFORMATION ON HERE. 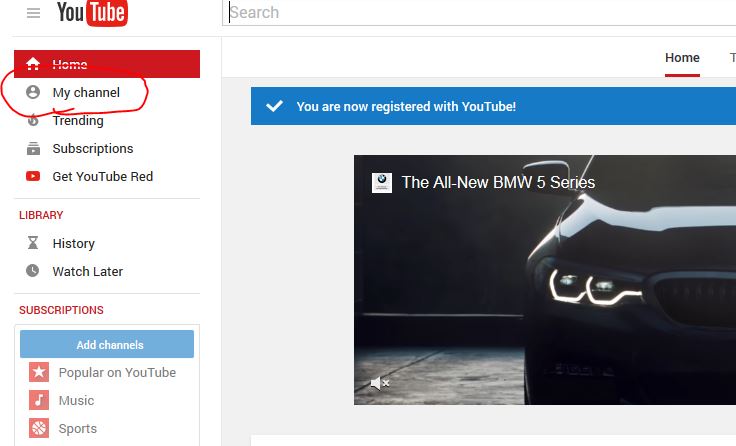 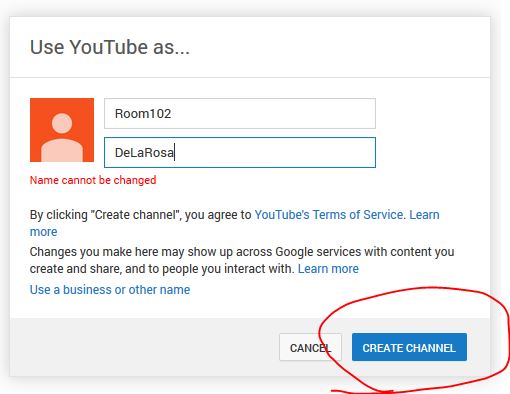 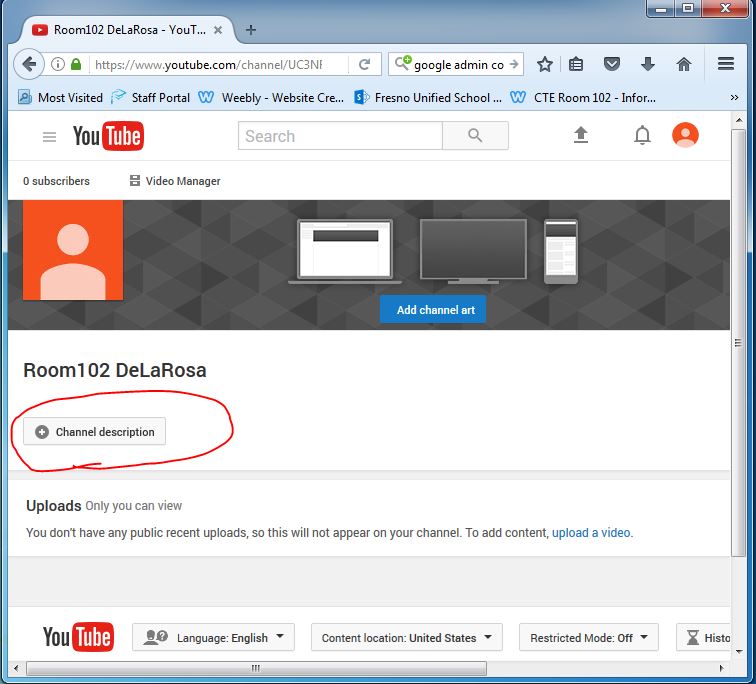 Creating Channel Art YouTube recommends channel art be 2560 pixels by 1440 pixels so we are going to create our channel art in Photoshop with those dimensions. 1. Open Photoshop 2. Change width to 2560 3. Change height to 1440 4. PPI to 72 5. Click Create Start designing your channel art 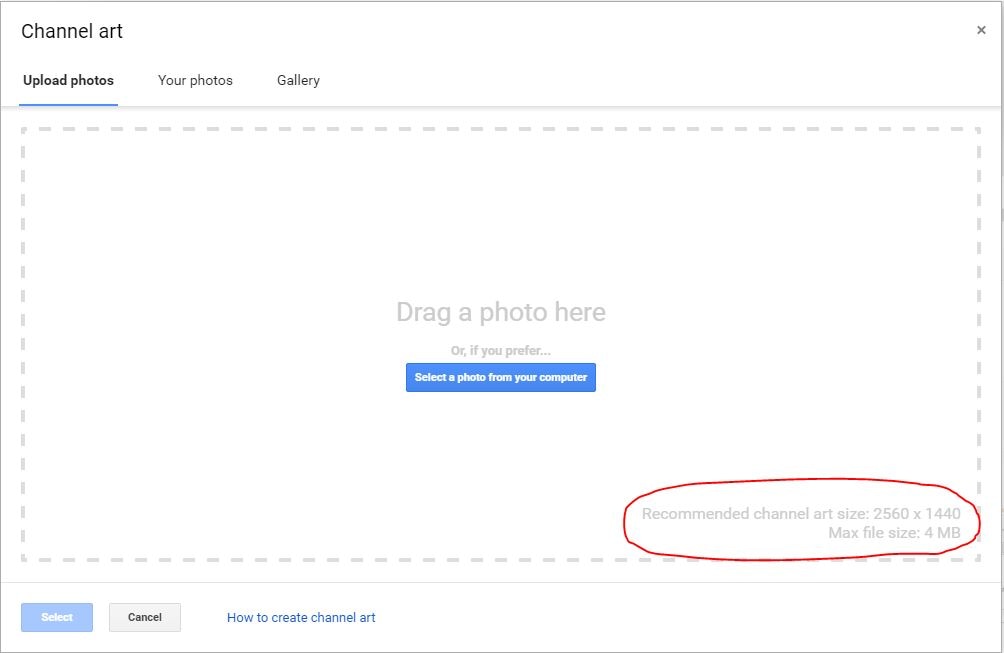 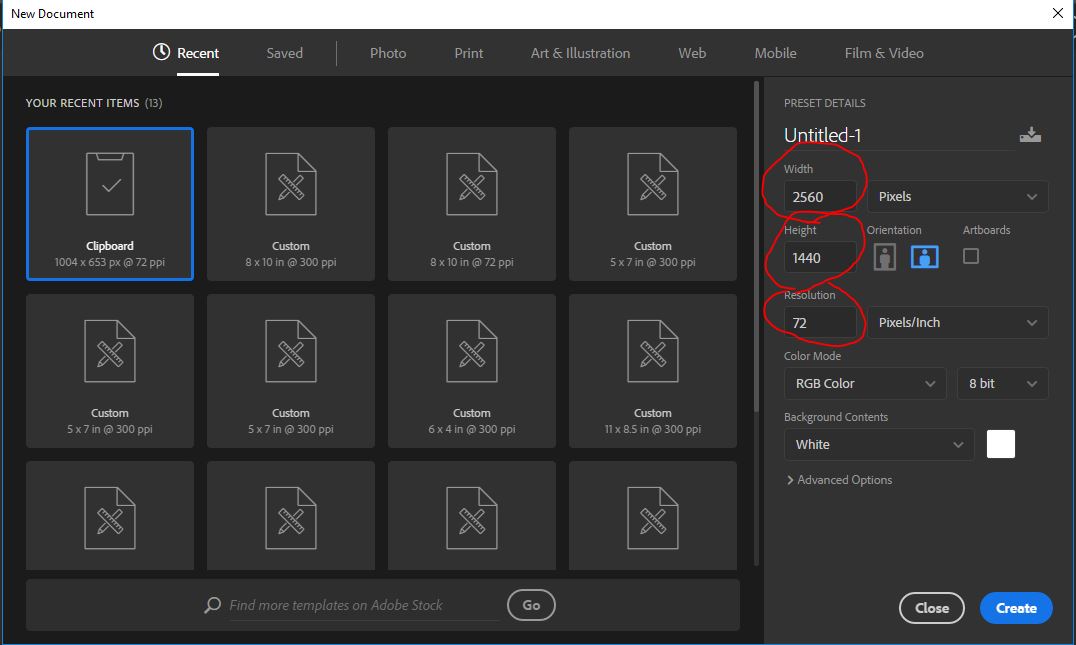  As you can see below, YouTube has changed the way we communicate. It is estimated that there are 7.5 billion people on earth and nearly 5 billion YouTube videos viewed everyday! If you were going to create your own YouTube Channel, what would it be? What are you an expert on? Why should people go to your channel and watch your video over the millions of other videos? What makes your video different? Do you want to make money with your YouTube Channel? Once you have completed your typing, spend this class period viewing these channels and think about what makes them popular. By the end of class, create and share a Google Doc that tells me what kind of YouTube channel you would like to create, how your channel will be unique and why people will watch your content. Keep in mind, if you wanted to make $1,000 on YouTube, you would need about 15,625,000 views. It is possible but you must build your channel and your brand. 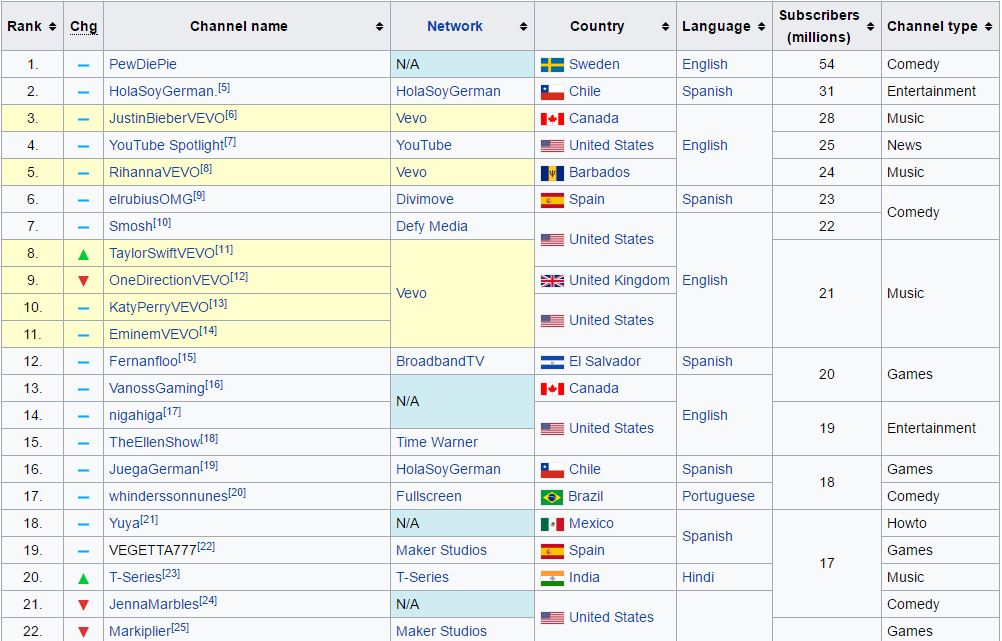 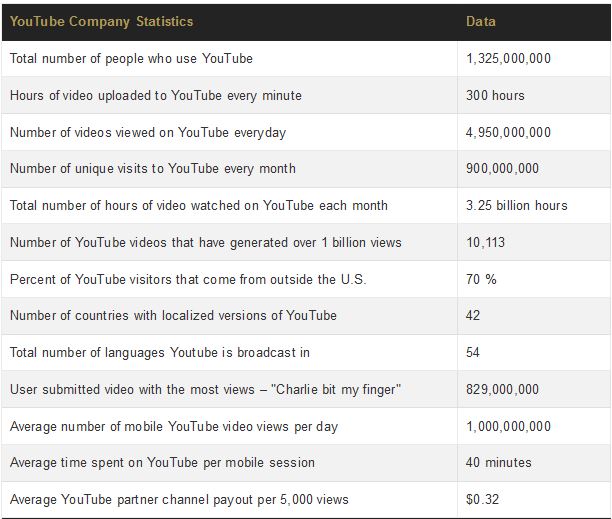 For this assignment, you will login to Google Docs and write a true story about something in your life. If could be as simple as what you did over the weekend to as serious as the first time you ever went to a funeral. It doesn't matter what you choose as long as it is coming from you, in your own voice... Be real!  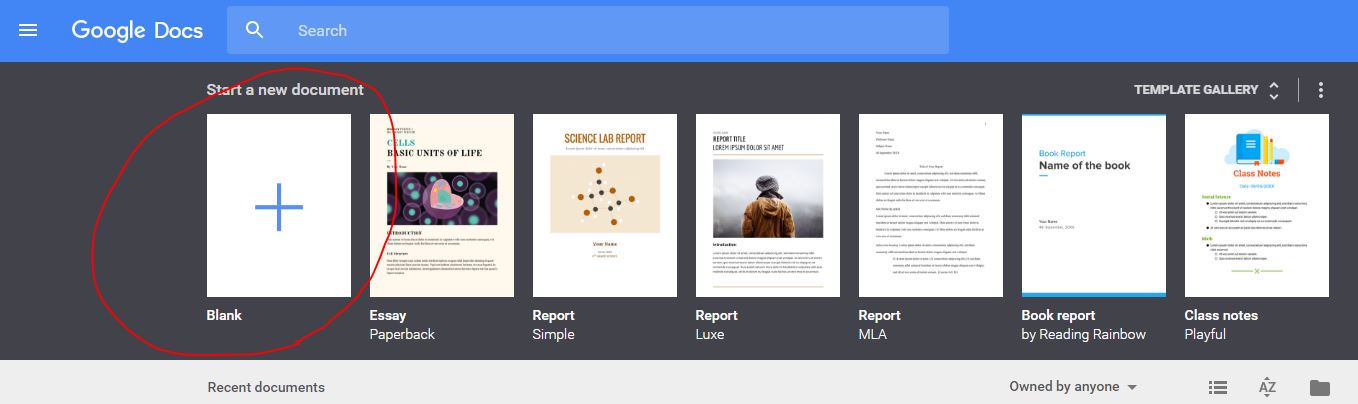 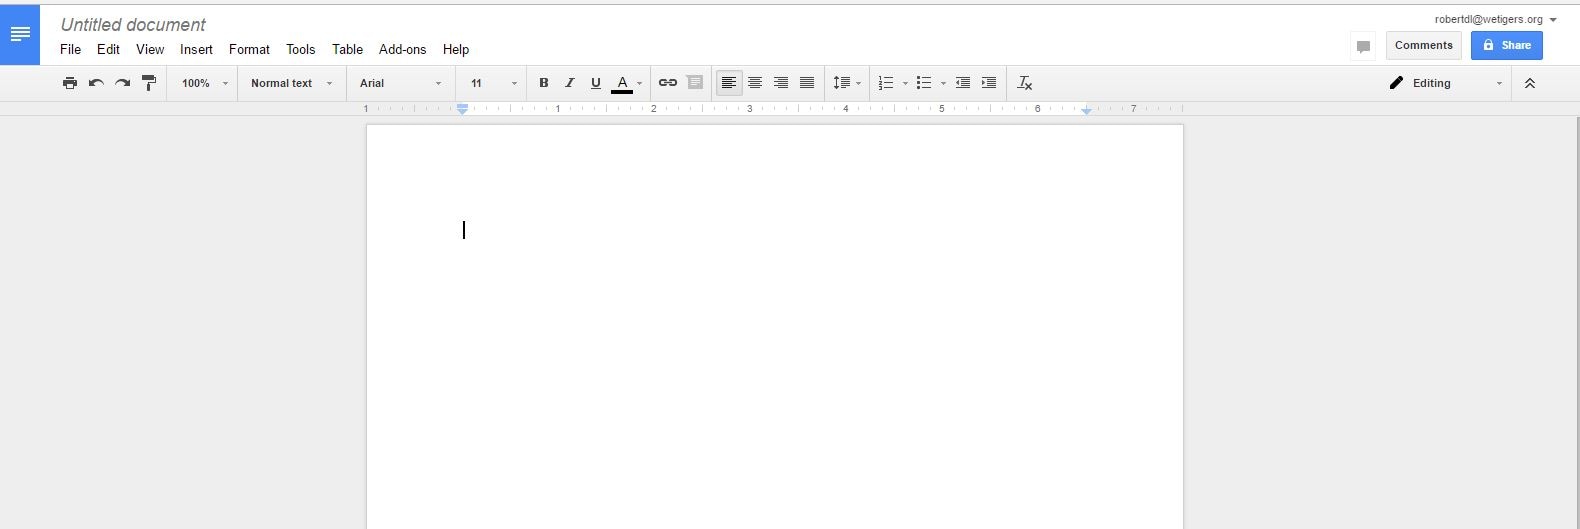 Today we will start entering the google universe. 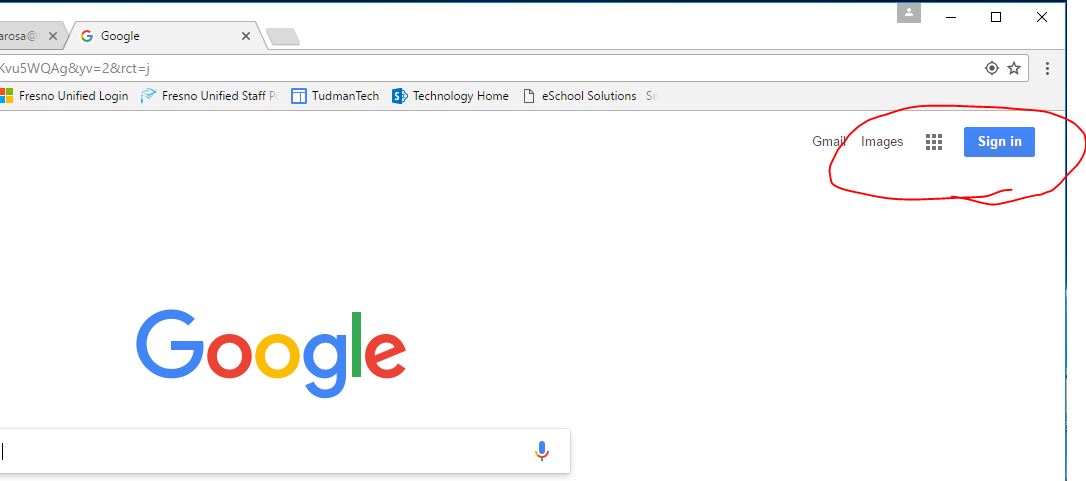 add your login  add your password  Choose your app 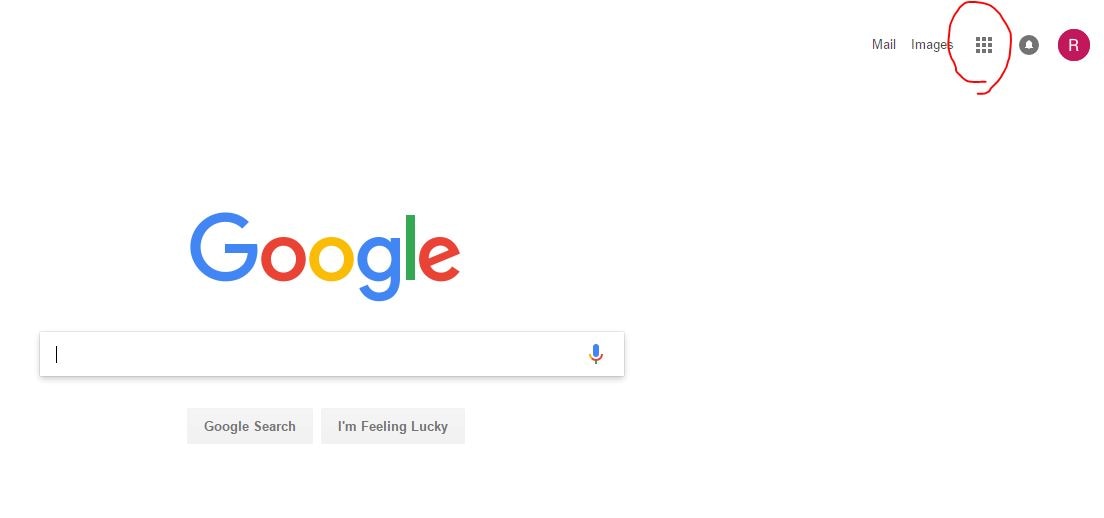 Drive is where you will be storing all your projects and work 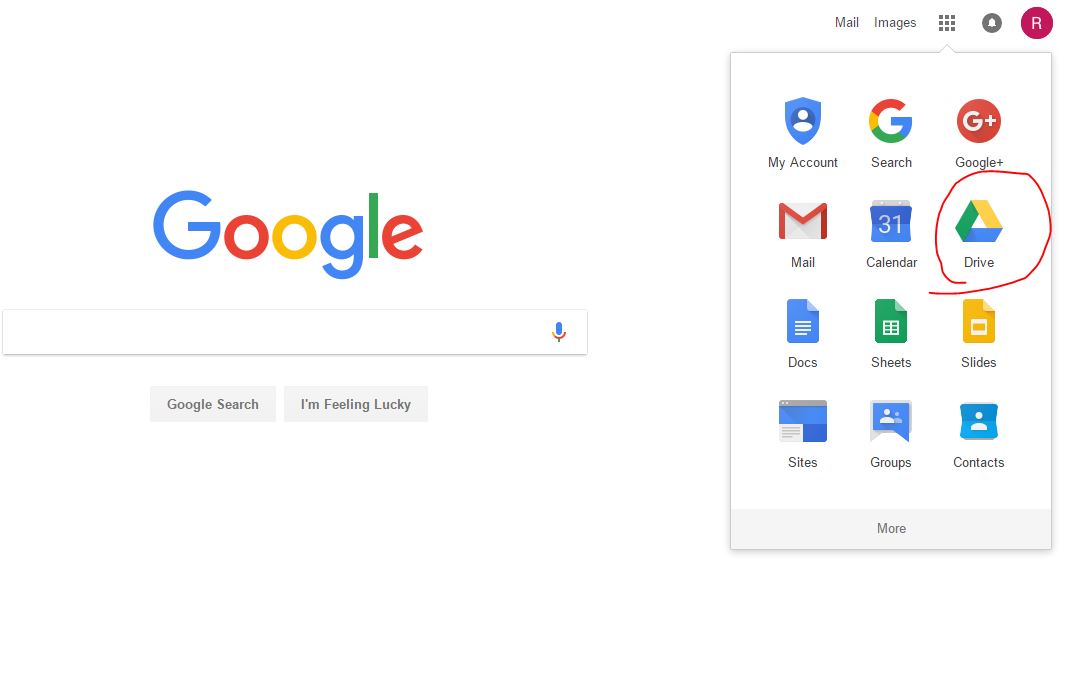 Everything you put in your google drive will be accessible from anywhere   Design your own robot in Adobe Illustrator using the tools you have been working with. Scoring: 25 Shapes - 25 points Color - 5 Points *Total 30 points * If you use 35 shapes, you can earn 5 points extra credit. Project is due 3/24/17 (FRIDAY)
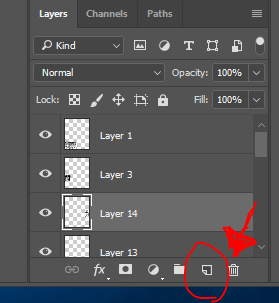
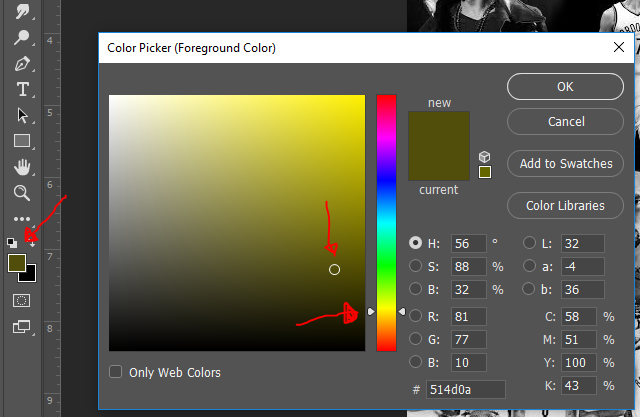
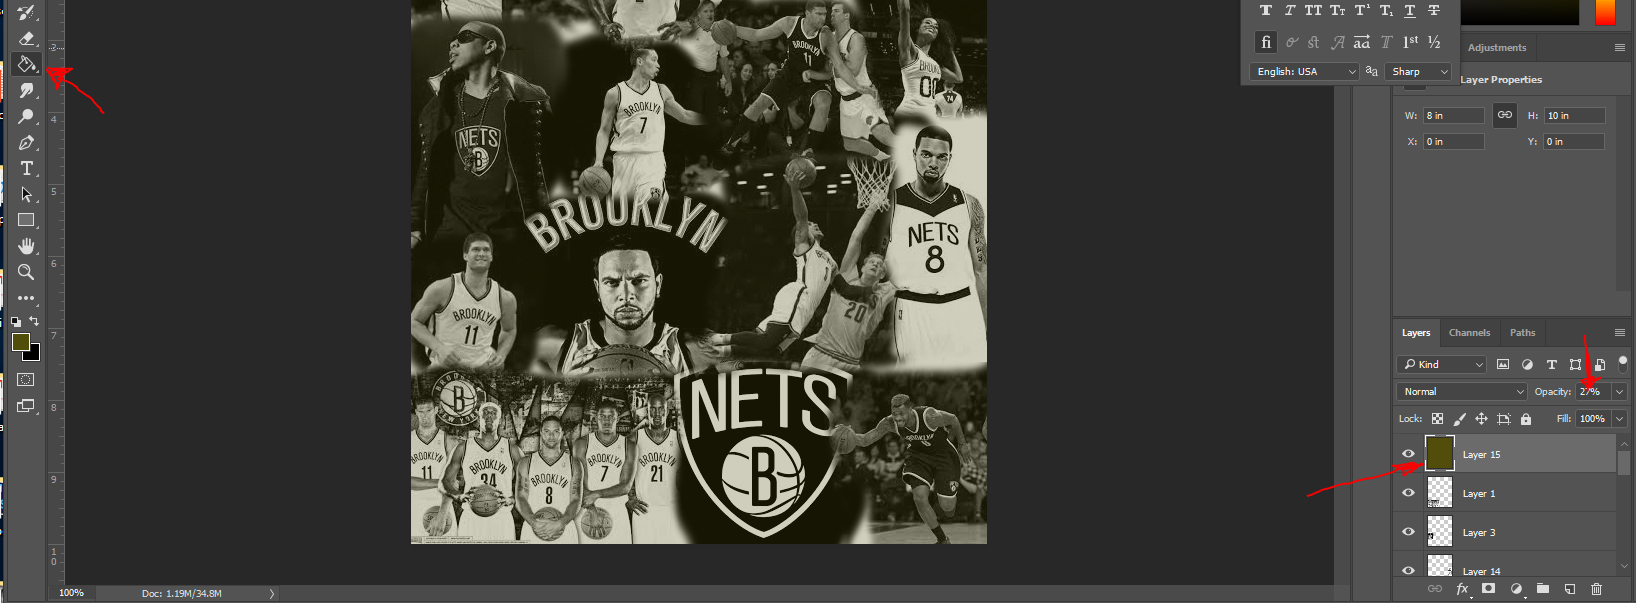
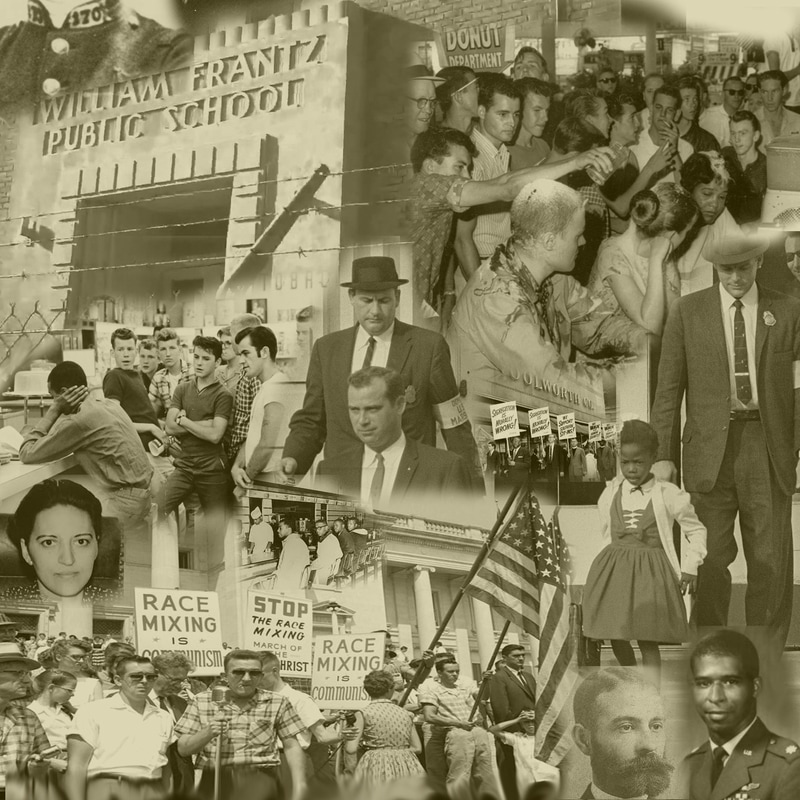
 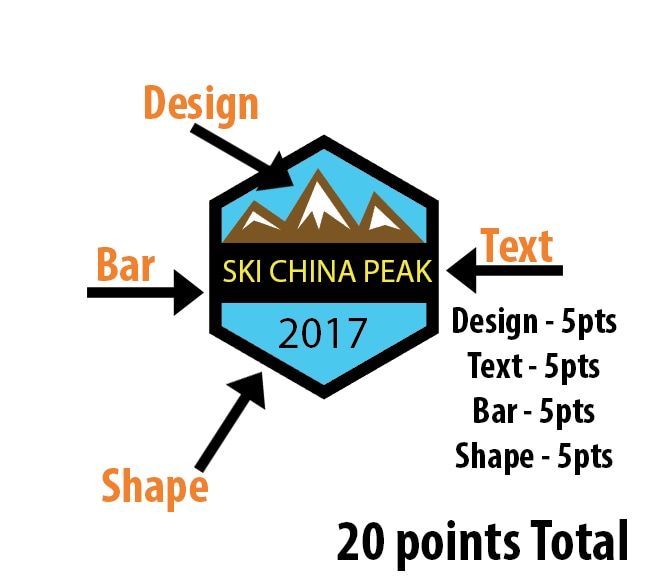 For this project, you will start by creating a new project. 1. Click File > New > Print > Letter > Create 2. Select your Polygon Tool (this may be hidden under the rectangle or ellipse tool, click and hold the tool to reveal the other tools). 3. In the middle of your project, hold the Shift Key and create a perfect polygon 4. Click the selection tool then hold shift and rotate so the point is up. 5. Increase your Stroke to 15 6. Change your fill color to a Sky Blue 7. Deselect your shape and choose the Rectangle Tool 8. Create a rectangle in the middle of the original polygon. 9. Swap the fill and the stroke so that the fill is black 10. Delete the stroke by clicking None 11. Select the pen tool and choose a brown fill color 12. Create three mountains using the pen tool 13. Select the pen tool and choose a white fill color 14. Create snow in the mountains using the pen tool 15. Select the Type Tool 16. Change Fill Color to Yellow 17. Type SKI CHINA PEAK 18. Using selection tool, make text fit in black box 19. Select the Type Tool 20. Change Fill Color to Black 21. Type 2017 22. Using selection tool, make text fit under black box  Once you have downloaded all your photos you will open Photoshop 1. Click New 2. Change the measurement to inches 3. Width 8 / height 10 / resolution 72 4. Click Create 5. Open your first image 6. Click Select > All 7. Click Edit > Copy 8. Click Edit > Paste 9. Click Edit > Transform > Scale 10. Make your image the size you wish 11. Click Eraser Tool > Change to a Gradient Brush > Change Size to fit your needs (instructions continue after image) 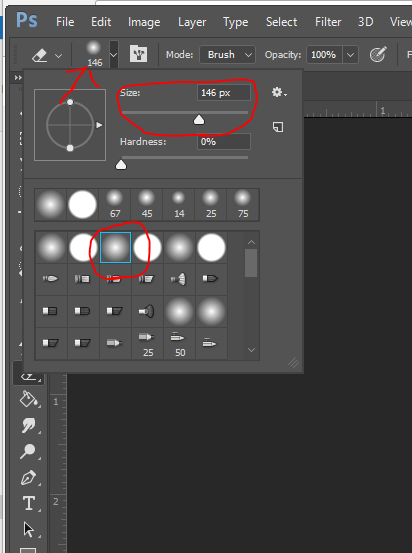 12. Use the Erase tool and soften the edges 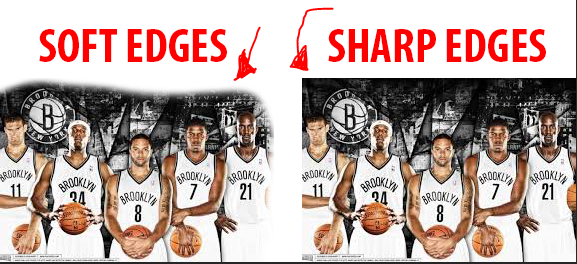 13. Continue pasting your images into your project and softening the edges with the eraser tool. 
|