
|
Commercial Spot! Now we put our skills together to create a 30 second testimonial commercial on an item of your choice To complete this project, you will need to:
Snip your storyboard and images then paste it in the Word Document with your script. Save the project as your last name and commercial (my file would be delarosacommercial.docx) and place it in the turn in folder. The link is located on our class website. www.gastoncte102.weebly.com Turn in your word document with the script and the storyboard here When you finish, let’s record it! CLICK THIS LINK to open folder
Then download all the video and audio in the by pointing to the file and right clicking download. Do this for every file (humpty.mp3, kingsmen.wmv, hadfall.wmv satwall.wmv) and move them to your desktop. Open Windows Movie Maker Click Import Video Choose desktop (where you placed your videos). Choose satwall.wmv Left Click Satwall and drag it to the first storyboard at the bottom of Movie Maker Click Import Video Choose desktop (where you placed your videos). Choose Hadfall.wmv Left Click Hadfall and drag it to the first storyboard at the bottom of Movie Maker Click Import Video Choose desktop (where you placed your videos). Choose Kingsmen.wmv Left Click Kingsmen and drag it to the first storyboard at the bottom of Movie Maker Click Import Audio or music Choose desktop (where you placed your videos). Choose Humpty.mp3 Left Click Humpty and drag it to the first storyboard at the bottom of Movie Maker Today we will be working on our next storyboard. This storyboard will be a story that is all your own. When you have finished, CLICK HERE to turn in your work docs You will go to StoryboardThat.com to create your storyboard. You will need to make six boards 1. Title Board 2. Wide shot 3. Closeup Shot 4. Wideshot 5. Wideshot 6. End Credit This story should be one that you could actually produce, we may shoot and edit some of them. Once you have completed your storyboard, use the snip tool to snip the first three boards and then save the snip to your desktop. Do the same thing with the bottom three boards. 1. Insert both saved snips into a word document. 2. Save document as your first and last name. 3. Turn it in my dropping it in your period turn in folder. Click here to open folder (you must be logged in to your google account) 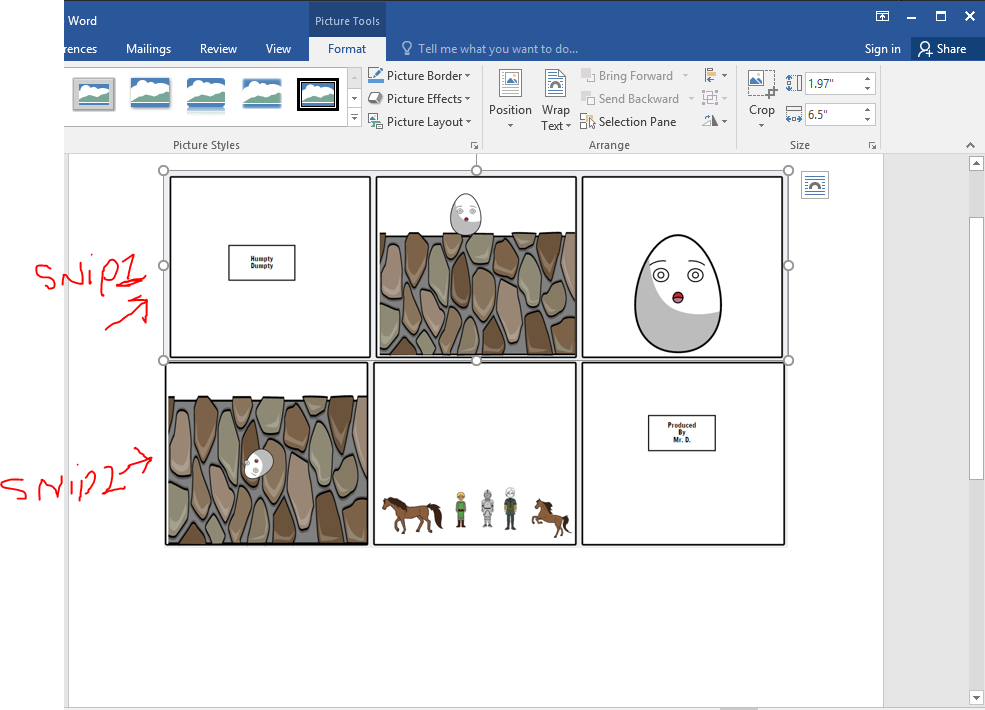 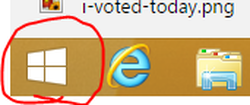 Did you forget how to get the snip tool? 1. Click the window button on the lower left corner of your computer screen. 2. Click the search button at the top right of your screen 3. Type Snip in the search bar 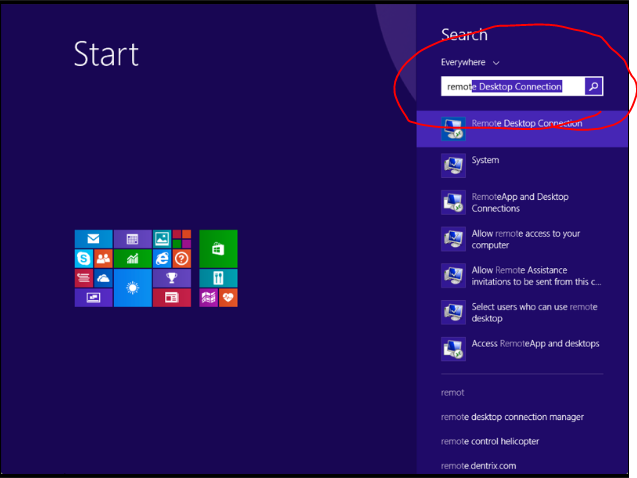 4. Choose snipping tool 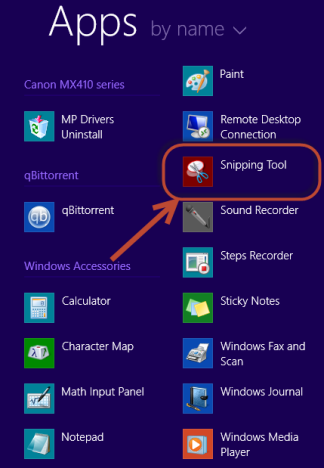 5. Snip  Once you have
We will be working on our first storyboard... Humpty Dumpty You will go to StoryboardThat.com to create your storyboard. You will need to make six boards 1. Title Board 2. Wide shot 3. Closeup Shot 4. Wideshot 5. Wideshot 6. End Credit Once you have completed your storyboard, use the snip tool to snip the first three boards and then save the snip to your desktop. Do the same thing with the bottom three boards. Insert both saved snips into a word document.   1. Make sure you are logged in to your account (google/wetigers) 2. Save your powerpoint to the desktop 3. Use this LINK to open the turn in folder 4. Double click your class folder (period 1 or 2) 5. Left click and hold the file you wish to turn in. 6. Drag and drop it in your class turn in folder Saving to desktop 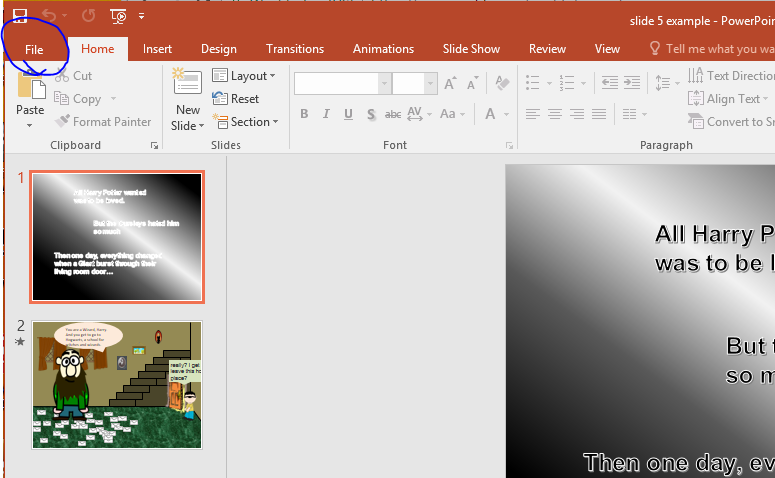 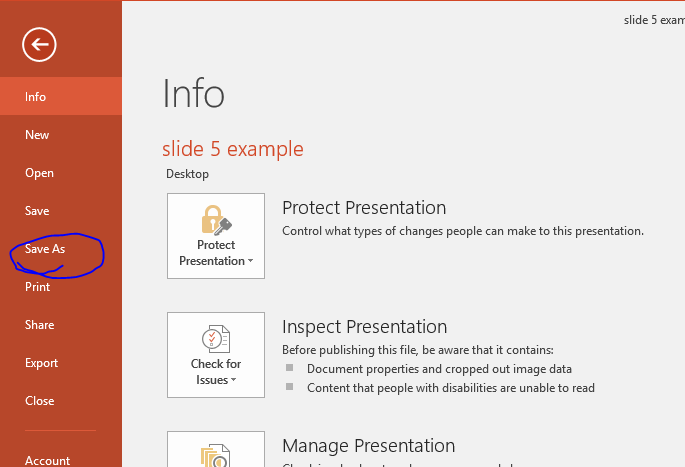 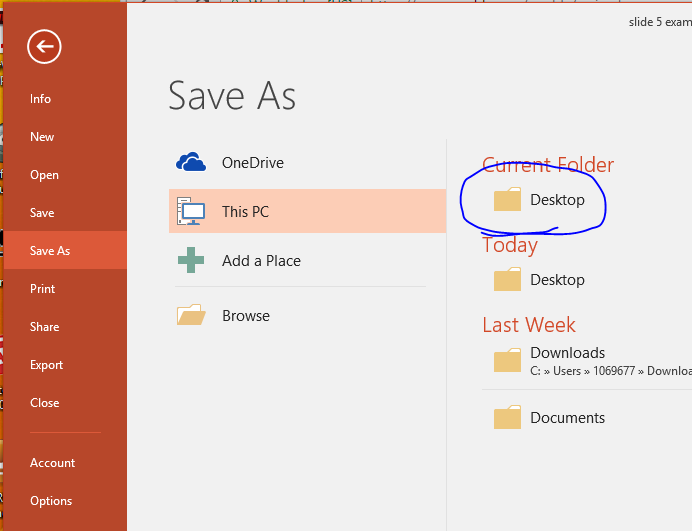 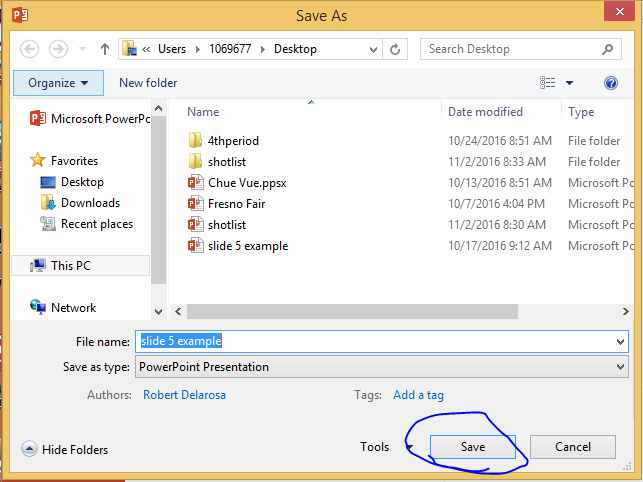 Today you will take the images you have been working on and put them into a PowerPoint presentation. See example below (do not use the same images used in this gallery) Today you will work on a worksheet on camera angles. Fill it out using the info below. 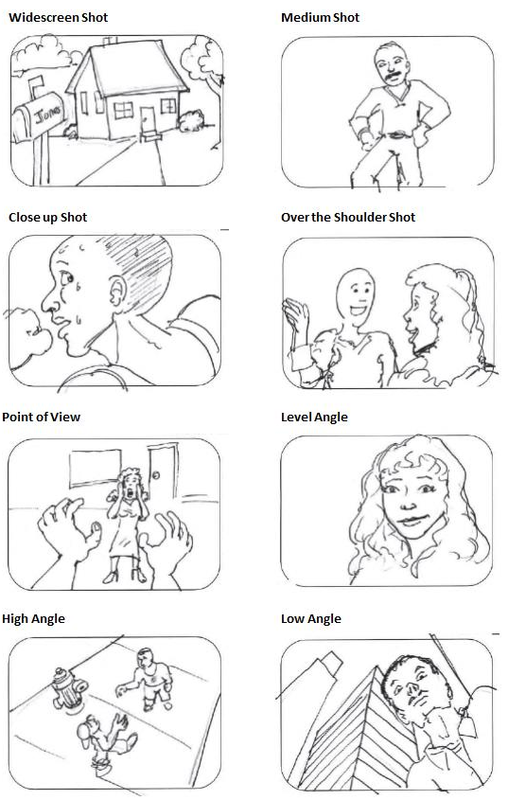 Once you have completed the worksheet:
If you have turned in a camera check-out permission slip... Step 1: Check out a camera & hall pass Step 2: Take 2 pictures for each shot (16 total) Step 3: Create a PowerPoint Presentation Name it: "Types Of Camera Shots." Step 4: Upload your pictures to your computer. If you have NOT turned in a camera check-out permission slip... Step 1: Open Google Step 2: Find 2 pictures for each shot (16 total) Step 3: Create a PowerPoint Presentation Name it: "Types Of Camera Shots." Step 4: Insert pictures in the presentation. |


